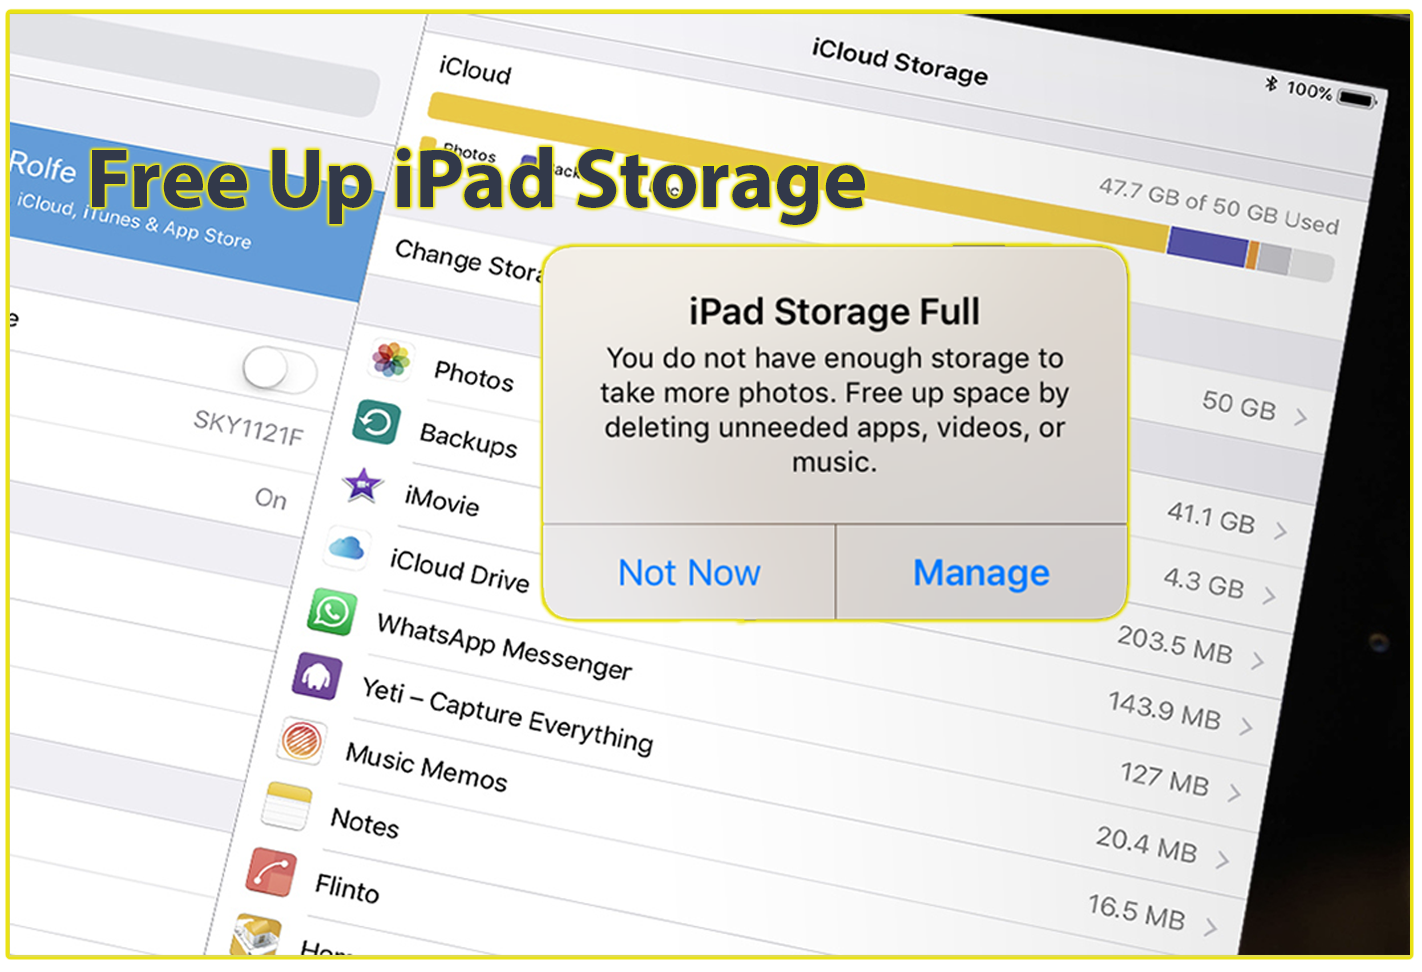
Running out of storage on your iPad can be frustrating, especially when you’re trying to download a new app, take photos, or update your device. I’ve been there, and I know how overwhelming it can feel. But don’t worry I’m here to guide you step-by-step on how to free up iPad storage effectively. Whether you’re a casual user or a power user, these tips will help you reclaim valuable space and keep your iPad running smoothly.
In this guide, I’ll walk you through practical methods to manage your iPad storage, from deleting unnecessary files to optimizing settings. I’ll also share some personal experiences and insights to make this process easier for you.
Related; How to Check Storage Space on iPhone and iPad
Why Freeing Up iPad Storage is Important
Before we get into the how, let’s talk about the why. Why should you care about freeing up iPad storage?
- Performance Boost: When your iPad storage is nearly full, it can slow down your device. Apps may take longer to open, and multitasking can become a hassle.
- Space for New Content: Whether it’s downloading a new game, capturing memories with your camera, or saving important documents, having free storage ensures you’re always ready.
- Smooth Updates: iOS updates often require a significant amount of free space. If your iPad is full, you might not be able to install the latest features and security patches.
Now that you understand the importance, let’s explore how to free up iPad storage effectively.
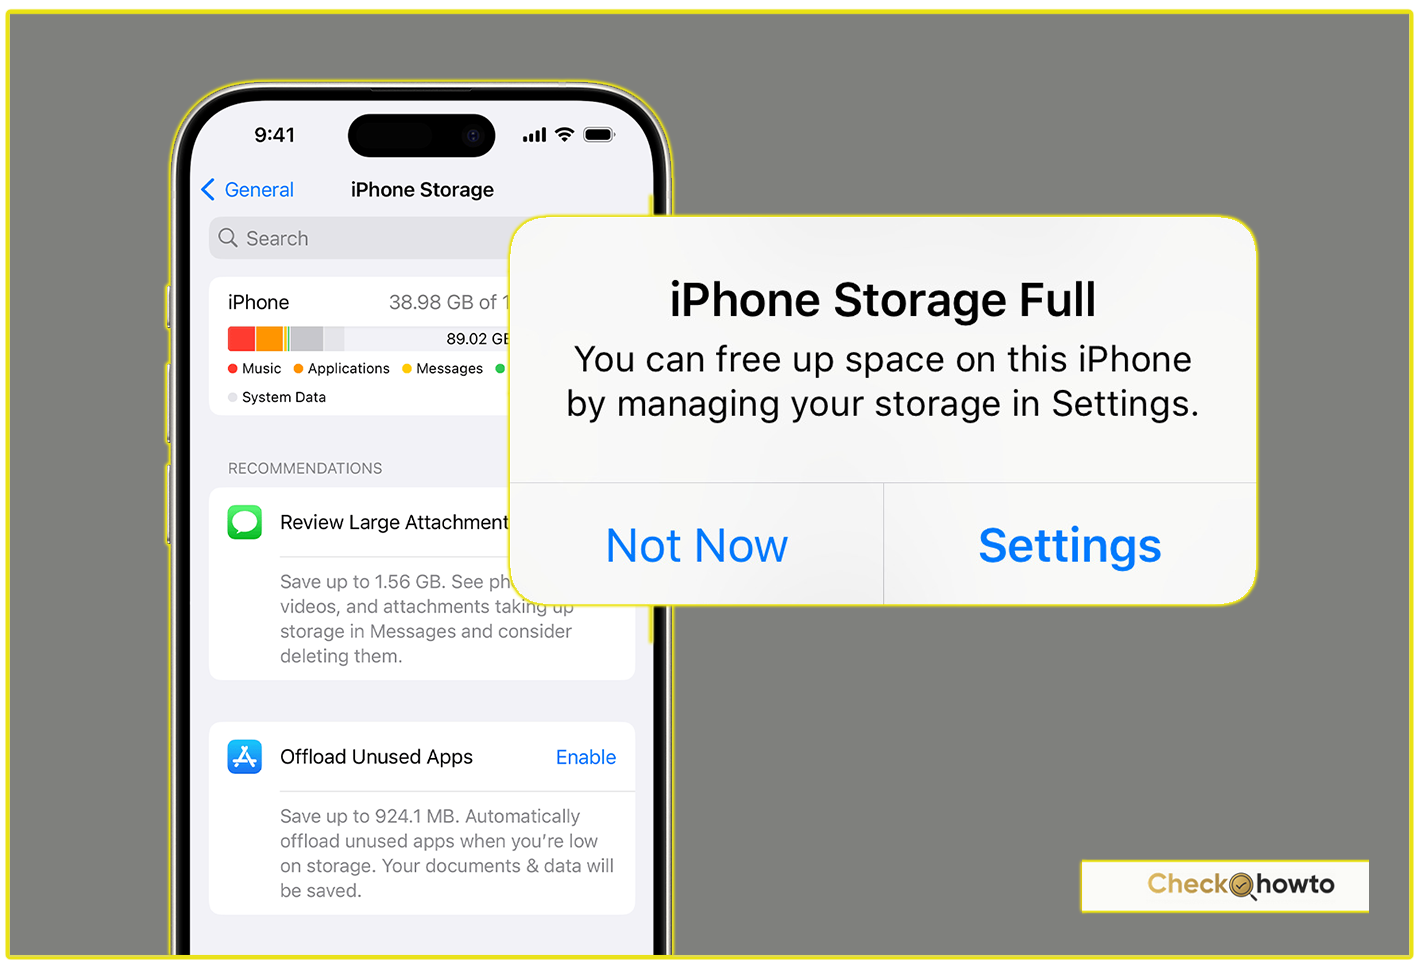
Step 1: Check Your iPad Storage
The first thing I always do is check how much storage I’m using and what’s taking up the most space. Here’s how you can do it:
- Open Settings on your iPad.
- Tap General > iPad Storage.
You’ll see a breakdown of your storage usage, including apps, photos, messages, and more. This gives you a clear picture of where to start.
See; How to Free Up iPhone Storage?
Step 2: Delete Unused Apps
One of the easiest ways to free up iPad storage is by removing apps you no longer use. I’ve found that over time, I accumulate apps that just sit there, taking up space.
- Go to Settings > General > iPad Storage.
- Scroll through the list of apps and tap on one you don’t need.
- Select Delete App.
Alternatively, you can press and hold an app icon on your home screen and choose Remove App. This method is quicker and works well for apps you know you don’t use.
Step 3: Offload Unused Apps
If you’re hesitant to delete an app completely, you can offload it. Offloading removes the app but keeps its data, so you can reinstall it later without losing your progress or settings.
- Go to Settings > General > iPad Storage.
- Tap on an app and select Offload App.
This is a great option for apps you use occasionally but don’t want to delete permanently.
Step 4: Clear Safari Cache and Browsing Data
Safari can accumulate a lot of cache and browsing data over time, which takes up storage. Here’s how to clear it:
- Open Settings and scroll down to Safari.
- Tap Clear History and Website Data.
This will free up some space and also improve your browsing experience.
Step 5: Manage Photos and Videos
Photos and videos are often the biggest storage hogs on an iPad. I’ve learned a few tricks to manage them effectively:
a. Use iCloud Photos
Enabling iCloud Photos stores your media in the cloud, freeing up space on your device.
- Go to Settings > Photos.
- Turn on iCloud Photos.
b. Delete Unwanted Photos and Videos
Go through your camera roll and delete duplicates, blurry shots, or videos you no longer need.
c. Use Optimize iPad Storage
This feature keeps smaller versions of your photos on your iPad while storing the originals in iCloud.
- Go to Settings > Photos.
- Select Optimize iPad Storage.
Step 6: Clear Message Attachments
Messages with photos, videos, and GIFs can take up a surprising amount of space. Here’s how to clear them:
- Open Settings > General > iPad Storage.
- Tap Messages and review the large attachments.
- Delete unnecessary attachments by swiping left and tapping Delete.
Step 7: Manage Downloads and Files
The Files app can accumulate downloads and documents over time. I recommend regularly cleaning it out.
- Open the Files app.
- Go to Downloads and delete files you no longer need.
Step 8: Stream Instead of Download
If you’re someone who loves music, movies, or TV shows, consider streaming instead of downloading. Services like Apple Music, Netflix, and Spotify allow you to enjoy content without taking up storage.
How To Recover Deleted Files On iPhone
Step 9: Update Your iPad
Sometimes, simply updating your iPad can free up storage. Apple often releases updates that optimize storage usage.
- Go to Settings > General > Software Update.
- Download and install any available updates.
Step 10: Reset Your iPad (As a Last Resort)
If you’ve tried everything and still need more space, you can reset your iPad. This will erase all data and restore it to factory settings.
- Go to Settings > General > Reset.
- Select Erase All Content and Settings.
Make sure to back up your data before doing this!
Additional Tips to Free Up iPad Storage
- Use External Storage: Consider using a compatible external drive to offload files.
- Limit Offline Content: Apps like Netflix and Spotify allow offline downloads. Limit these to save space.
- Regular Maintenance: Make it a habit to review your storage every few weeks.
Conclusion
Freeing up iPad storage doesn’t have to be a daunting task. By following these steps, you can easily manage your storage and keep your device running smoothly. I’ve personally used these methods, and they’ve made a huge difference in how I use my iPad.
Remember, the key is to stay proactive. Regularly check your storage, delete what you don’t need, and optimize your settings. Your iPad will thank you!
If you found this guide helpful, feel free to share it with others who might be struggling with their iPad storage. And if you have any additional tips, let me know in the comments below!