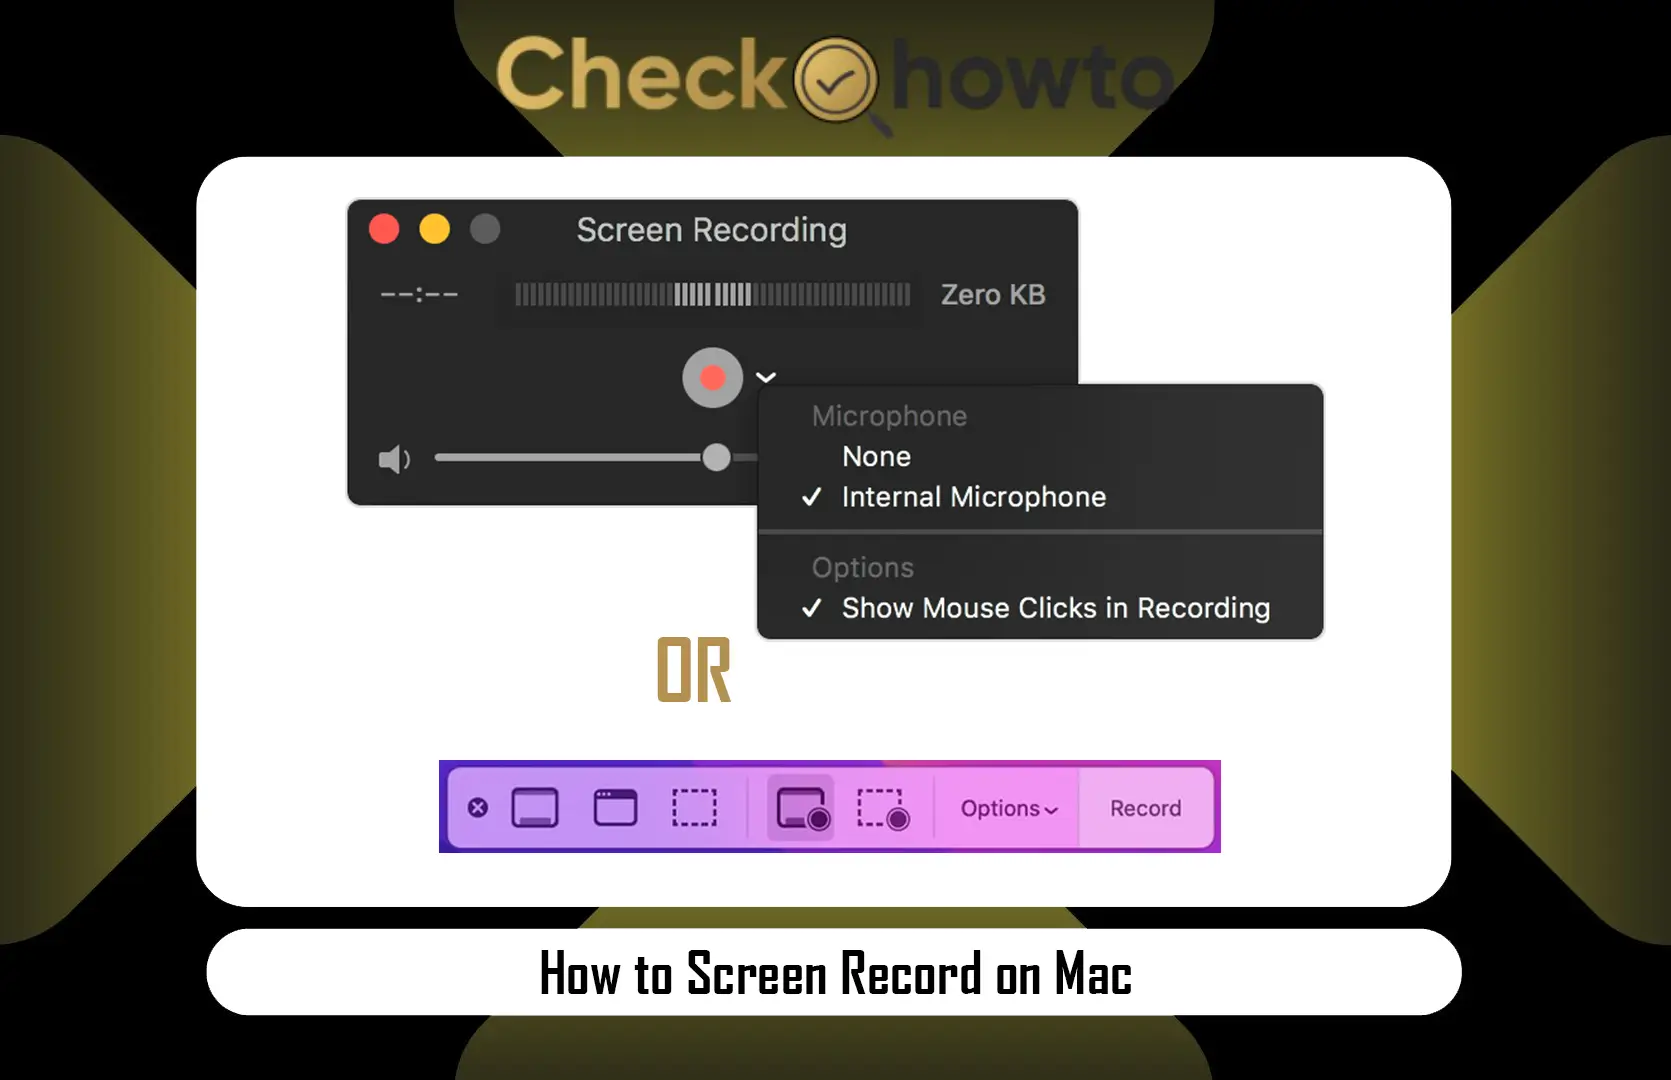
Screen recording is a useful feature that lets you capture your actions on your Mac. Whether you want to create a tutorial, a presentation, or a demo, screen recording can help you share your knowledge and skills with others. Some people new to the Mac device might find Screen Recording hard. On the contrary, it is very easy with our guide.

The good news is that you will learn how to screen record on Mac using two different methods: the built-in Screenshot app and the QuickTime Player app. I will also give you some tips and tricks on how to make your screen recordings look friendly with audio, mouse clicks, and editing tools.
Your Interest: How to Take a Screenshot on Windows
Method 1: Using the Screenshot App
The Screenshot app is a handy tool with macOS Mojave or a later version. It allows you to take screenshots and screen recordings with a simple keyboard shortcut. Here are the steps to use the Screenshot app to screen record on Mac:
1. Press Command + Shift + 5 on your keyboard to open the Screenshot toolbar at the bottom of your screen.
2. Choose between Record Entire Screen and Record Selected Portion, depending on whether you want to capture the whole screen or just a part.
3. Click on Options to customize your screen recording settings. You can select a location to save your recording, set a timer, choose a microphone, and enable mouse clicks.
4. Click on Record to start recording your screen. A Stop button will appear in the menu bar, which you can click to end the recording.
5. Your screen recording will be saved in the location you selected. You can open it with QuickTime Player or other apps to play or edit videos.
Method 2: Using QuickTime Player
QuickTime Player is another built-in app that you can use to screen record on a Mac quickly. It offers more options for recording audio and editing your videos. Here are the steps to use QuickTime Player to screen record on Mac:[efn_note]Support Apple. How to record the screen on your Mac.[/efn_note]
1. Open QuickTime Player from your Applications folder or use Spotlight to search for it.
2. Click on File and select New Screen Recording from the menu bar.
3. Click on the arrow next to the Record button to change the recording settings. You can choose a microphone, adjust the volume, and show mouse clicks.
4. Click on the Record button and then click anywhere on the screen to record the entire screen or drag to select a portion of the screen to record.
5. Click the Stop button in the menu bar to stop recording. Your screen recording will open in a new window.
6. Use the Edit menu to trim, split, rotate, or flip your video. Use the View menu to add annotations and filters.
7. Click on File and select Save to save your screen recording. You use apps like YouTube and Mail to share it directly with other apps using the Share menu.
Tips and Tricks for Better Screen Recordings
By now, you know how to screen record on Mac; here are some tips and tricks to make your screen recordings more effective and appealing as promised:
- Plan: Before recording, ensure you have everything on your screen. Close any unnecessary apps or tabs, turn off notifications, and adjust your screen’s brightness and resolution.
- Practice: do a test run to check your audio, video, and timing before you record your final video. Be sure to speak clearly and confidently, and avoid pauses, ummms, or ahhhs.
- Be creative: You can use different apps or tools to enhance your screen recordings. For example, you can use Keynote to create slides, animations, and transitions or iMovie to add music, sound effects, or voiceovers to your videos.
- Be concise: Keep your screen recordings short and to the point. Avoid irrelevant or redundant information and focus on the main message or goal. A good rule of thumb is to keep them under 10 minutes.
Your Interest: How to Screen Record on iPhone
Conclusion
Screen recording on Mac is a simple and powerful way to share your screen with others. You can use the Screenshot app or the QuickTime Player app to record your screen with ease and style. Some tips and tricks can also make your screen recordings more engaging and professional.


